Sunday, 23 February 2020

Birds in the Air x 4

Project Quilting 11.4 challenge is to use the 'Birds in the Air' block.  It’s two sizes of triangles, combined for a square block you must either use or reinterpret this traditional block. I did indeed reinterpret the block and it meets the requirements of two sizes of triangles. I used four blocks in my table topper.

I was short on time and only started making the topper yesterday at 9:30 AM. I just finished binding it this morning. I don't think I have ever made anything this fast before. Not bad considering I wasn't sure what to make.

An inkling of an idea started when I took a look through my collection of HSTs they do come in handy, and this was one of those times.

An Hst with side triangles, love those batiks
I started with a 3 1/2'' HST added triangles from a 3 7/8'' cut in half diagonally on each side.

all lined up to cut off those dog ears

I do like to trim off the dog ears and just line up the 45 degree line along the seam line and trim those dog ears off. This works for any size hst and triangle, at the moment I'm at a loss as to what you call this piece. Any suggestions?

Add a triangle a 6 7/8'' square cut in half diagonally to above unit. I went a step further to add interest I added a square to the bottom of the larger triangle sewing diagonally across the square. Trim and press.

I used my creative license to adapt the Birds in the Air block

A couple layouts with and without my adaption.

option #1. Not feeling it. This was before I added the bottom triangle

option #2 has promise but still not quite there yet

auditioning thread on option #3

Now this was more to my liking. 
table topper finished size 19'' square
For the quilting I needed something fast and easy. I quilted feathers in the batik coral pieces and some curves in the print batik triangles. In the sashing and borders some vines with leaves and swirls.

a closeup of the quilting
I'm ready for spring with a new springy table topper. It was a quick project but I enjoyed it once I figured out what I was going to make.


Tuesday, 18 February 2020

Colour it Red My Day

The rules for the theme for this months "Color It Red" blog hop, hosted by Carol of Just Let Me Quilt were simple it had to have red in it somewhere.


 Mine does but, life happens and I didn't get my project finished. Not all is lost as I do have some photos. 

under the ruler toe foot

It's about time I use up some of my stash. I am working on a new pattern and using some pieces from my stash to make it. 
The red print was from Kona Bay fabrics which I purchased a yard of in Dec of 2018, Kona Bay Fabrics went out of business in 2017. Moda Basic Grey I purchased 2 yards of in 2017, time both of these were used in a project. For the background I am using Moda Grunge.

straight lines and curves
So far I have been using my ruler toe foot and rulers to do the free motion quilting. I know I will be quilting feathers in the borders when I get to them.

lots of quilting to do yet
Stayed tuned for a finish and pattern release in the next couple weeks.

Sit back enjoy a cuppa tea or if you prefer coffee and see what my other blog hoppers have been making with the colour red.


Saturday, 8 February 2020

Put a Heart on it Project Quilting 11.3

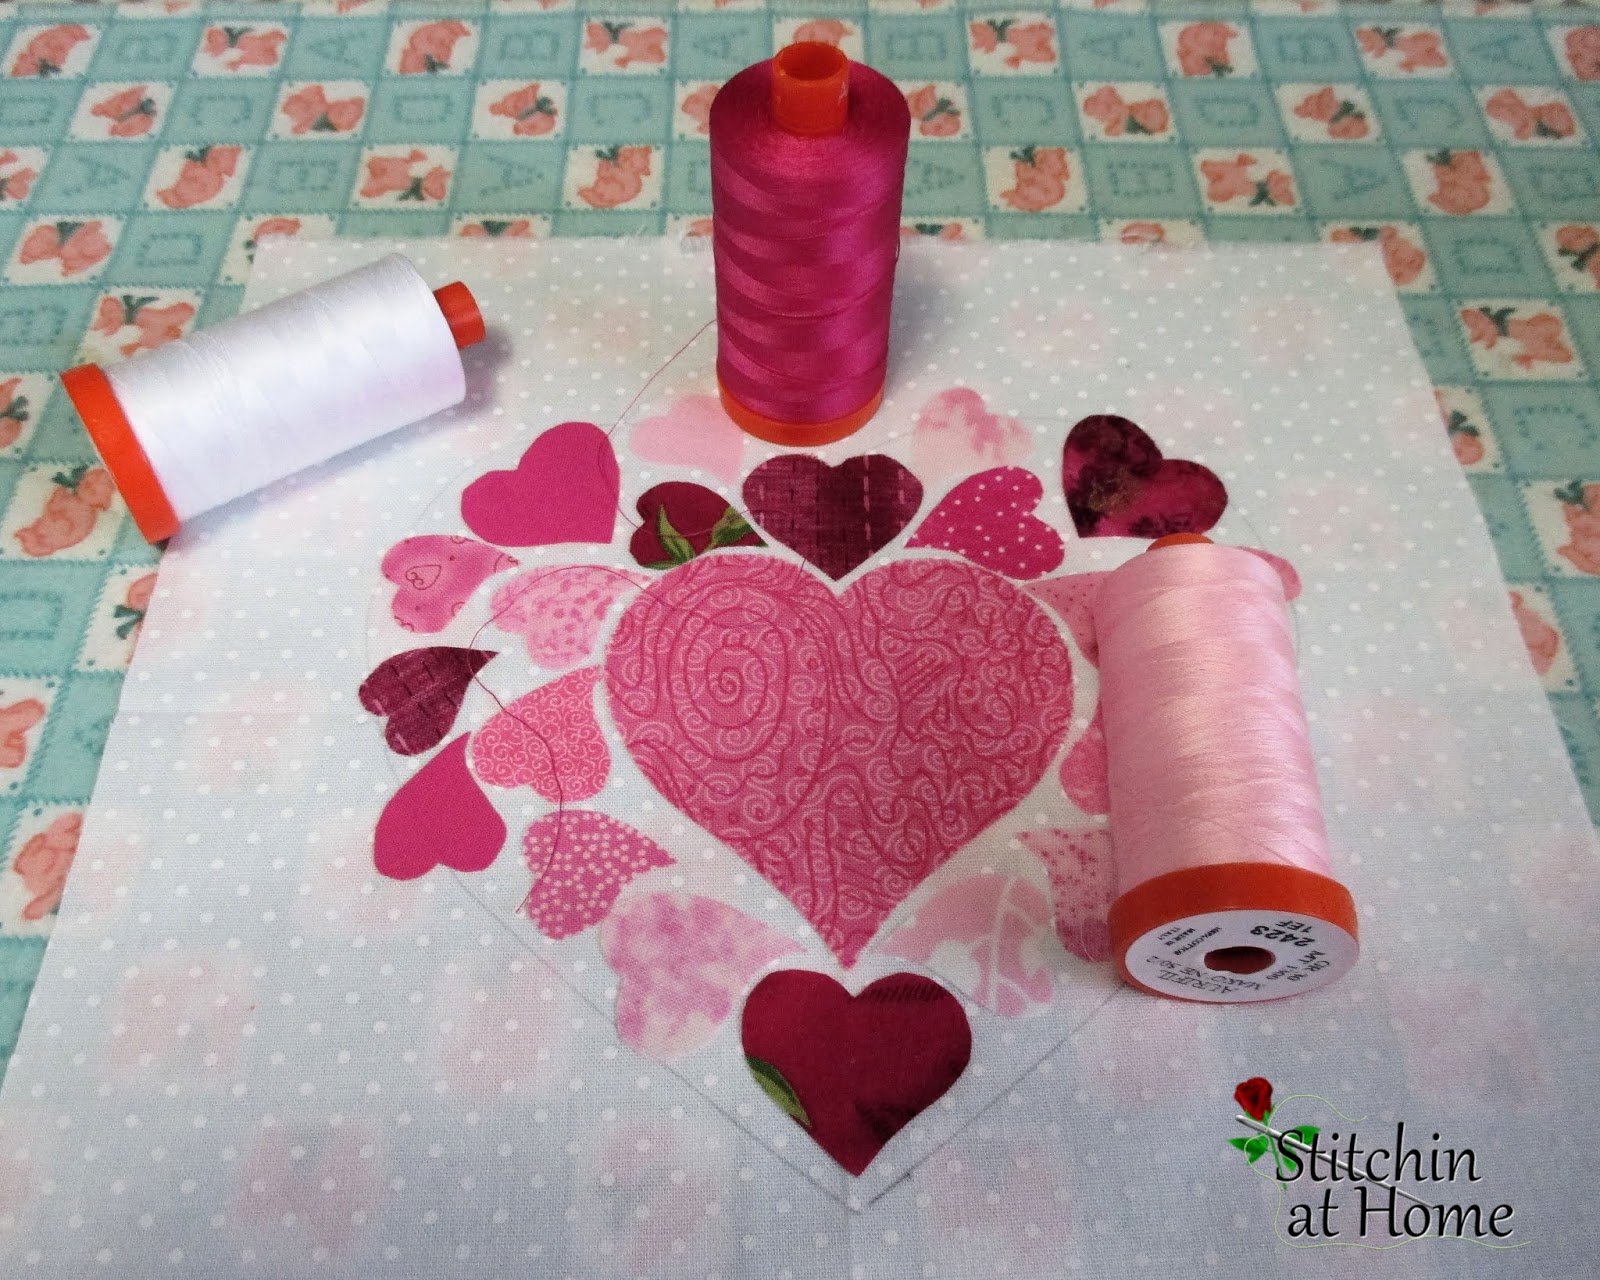
Put a heart on it, challenge three. I can't believe how fast this one came together. I started at 9:30 AM and by noon I had a finished project. I do have to confess that some of the hearts were already cut out, they were left overs from when I made 'Pinky' for my granddaughter. One of the applique methods in my tool box is Crafted Applique'. I keep extra pieces between sheets of wax paper and just pull them out when I need them.

extra pieces of treated fabric using the Crafted Applique method are stored between sheets of wax paper
The inspiration for this piece hit me after visiting a friend who is in hospice. The smaller hearts that float around the centre heart represent those that have passed through my life, with the centre heart representing me. Parents, siblings, grandparents and friends. I tried to think of pleasant times and not just the sad.
Working on this had me thinking of my paternal grandmother who I was close with and enjoyed spending time with. She was from Finland and I miss her accent, she did speak excellent English but some words just had her special way of saying them. She also made the best cinnamon buns which I continue to make her recipe to this day as does my daughter.

auditioning threads, I simply stitched around the inside of each heart shape using straight free motion stitching
I am sorry for the lack of photos but I was so into the project a camera never crossed my mind.

one of my favourite scissors to use when cutting applique are Karen Kay Buckley's

I wasn't sure at first how I was going to quilt this except for the feathers on the bottom of the heart. I wanted the feathers to show and decided a stipple would help them pop a little bit.

Bluprint has a great deal on.
Do What You Love (For Under $4/Mo!) For a limited time only, unlock unlimited access to craft classes, patterns and more for less than $4/month. Hurry! This deal won’t last.
I am an affiliate for Bluprint, and as such may receive a small commission if you click on one of the links in the post above and make a purchase.  It does not cost you any more.

Linking up to Favourite Finish (February 2020) with Cheryl from Meadow Mist Designs.


Sunday, 26 January 2020

Team Colours 11.2

It's week two in Project Quilting at Persimon Dreams 11.2 Team Colours. I didn't do the first challenge which was numbers, none of ideas I had were working. However when I saw the second one I knew I would be doing something with my favourite teams colours. I am a Toronto Blue Jays fan and have been from day one, April 7, 1977.

Bring on the blues and white, their uniforms are white, and blue ( from powder blue to a dark blue ).

assorted colour strips in various widths stitched in a fan shape 

After sewing the strips together I trimmed the wide end using a dinner plate, worked great. Okay I have a fan, not so sure about this bright idea after all.

trimmed but now what
It definitely wasn't done yet, it needed something but what? As the Blue Jays logo is copyrighted I couldn't use that. Then it hit me the Blue Jays are Canada's only MLB baseball team. Let's make it reflect that. Their fan base is also Canadian.


I cut out a Canadian maple leaf using leftover fabric from Canada's 150th birthday in 2017. My grandson thought I needed a baseball, so I added one of those. I appliqued both the leaf and the ball. Some simple loops for quilting. The binding is a single fold binding.

ball diamond or fan base or maybe both
Opening day is 3/26 I can't wait to see how our young guys and new players do this season. Go Jays Go!!

Are you a sports fan?

Tuesday, 24 December 2019

Finishing up Christmas

I had a couple things to finish up for Christmas.

Shortbread cookies done! Some have coloured sugar and others have sprinkles
I haven't found a cookie press I like yet, tried one took it back. The next best thing is to roll them out and use a cookie cutter. The recipe is the one in my Virtual Cookie Exchange, you can find it here.

14 straw sleeves. The labels have their names and what they are as there will be someone who has no idea what they are
This one started out simple enough, my oldest grandson wanted a metal straw for Christmas. I thought why not give everyone a straw and of course those straws need covers. I put a draw cord and cord stopper thingie (I know there's a name for it but I can't think of it right now). 


I want to wish everyone a Merry Christmas! I hope your holidays are filled with love, food and laughter.


Sunday, 15 December 2019

A Little Christmas Gift Sewing

First up some Barbie doll clothes. One of my granddaughters is not too happy with her dad. She cleaned up her bedroom and put her doll clothes collection in a bag unbeknownst to her dad, who you may have already guessed what happened next. He put the bag in the trash. They were some big tears and angry words. So what's a grandma to do but help replace some of her collection and she could use everything including footwear.

Now let me tell you sewing Barbie clothes is not my idea of fun. They are so small turning those seams hmm..

this is the bodice of a sundress Small darts and tiny seams

This is the collection so far I'm finishing up a few more. I am NOT sewing footwear! A grandma has to draw the line somewhere and after sewing those clothes I'm at the end. That's it ... at least for now. If anyone wants to test their sewing abilities and sanity, just google Barbie clothes. Have fun!

that red and white polka dress has a facing turning those shoulders was more than enough to test the patience of anyone
On to bigger things, Zip and Go bags. The pattern is well written and easy to follow. I have previously made one for myself and one for my daughter. 

these are both Northcott fabrics.
The pattern is for a 7 1/2'' x 9 1/2'' finished bag as the bags were going to an eleven and nine-year-old I decided to adjust the pattern more to a size appropriate to their size. I am sorry but as this is not my pattern I won't be telling you what size I finished them at. 

My guild held our Christmas potluck which is always good. Sorry never even thought about photos. The program for the meeting was about making reusable shopping and produce bags. We also had a $5 gift exchange with the gift to be in keeping with the theme of a reusable gift bag.

what sewing gift is complete without chocolate

I made a petit four basket a free pattern from ByAnnie.com. The little basket sewed up quick. Besides the chocolates, I added a pack of self-threading needles and a candy cane. In all honesty, I was over the $5 limit, but the recipient liked her gift. And that made me happy.


That wraps up my little gifts. I hope you've had time to make a little or big gift this holiday season.


Tuesday, 3 December 2019

Virtual Cookie Exchange

Carol of Just Let Me Quilt is hosting the Virtual Cookie Exchange for which we are to share a Christmas cookie recipe, tradition, and/or quilt.


My favourite cookies are shortbreads and not just for Christmas but anytime of the year. I make whipped shortbreads and use a cookie press. 
I know you're looking for a photo of a plate of some tasty looking cookies I would show you however my cookie press is broken. My daughter borrowed it and the tube broke down the seam, I have had it for more than 30 years, so I guess it really doesn't owe me anything. I need to replace it real soon. So I am sorry to say no picture BUT worst of all no shortbread cookies here. YET. 
I'm going to give you the recipe so you can make some for yourself.


Whipped Shortbreads


1 cup softened butter
½ cup icing sugar
½ cup cornstarch
1 ½ cup all-purpose flour


Beat butter until light and fluffy. Gradually add icing sugar, beating after each addition. Sift together flour and cornstarch, gradually add to creamed mixture beating constantly.
Place dough in cookie press and form cookies. Bake at 350 Fahrenheit for 10-12 minutes.
Enjoy!

A little Christmas project for all those fab gifts you are going to be making as a result of this blog hop. You are going to need something to put them in. Right? How about a gift bag?

Ruffled Gift Bag

Instructions for a 10 1/2'' x 19 1/2'' bag.

1 pc fabric 11 1/2″ x 20″
1 pc 3'' x 20'' accent fabric
ribbon

Turn one long edge of the accent piece under 1/4''.
Sew the opposite long edge of the accent piece to one of the long edges of the main fabric. 

long edge of both main and accent fabrics sewn together and pressed towards the accent fabric.
Press the top edge under a 1/4''
Place a mark 4'' down from top edge of the accent fabric on the side and another mark at 4 3/4''.

Sew from the bottom edge of the main fabric up to the 4 3/4'' mark you made. Backstitch at both ends.

Starting with a backstitch at the 4'' mark, sew to the top of the bag with a ¼” seam. Making sure to leave a 3/4'' unsewn gap between the two marks.

leave a 3/4'' gap for the ribbon to thread through on the main fabric. starting from top of the accent piece to the 4'' mark and from 4 3/4'' mark to bottom
Fold the accent piece, at the seam line to the inside of the main fabric having wrong sides together and covering the ribbon gap by the accent piece.  

Sew a line of stitching 7/8'' above the 1/8'' seam. This is the ribbon casing. 

Topstitch 1/8'' from the top and also 1/8'' from the previously 1/4''  turned

Sew the bottom edge with ¼” seam.
Turn and press.
Thread the ribbon through the gap, gather and tie a bow.

An easy bag ready for those gifts! 

A ruffled edge bag already for gift giving.

You can adjust the size of the bag by simply changing the size of fabric pieces you start with.


Make sure to visit all the blogs participating