Showing posts with label Blog Hop. Show all posts

Sunday, 13 March 2022

Time in a bottle Blog Hop

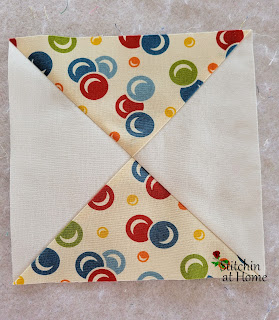
 The "Time in a Bottle" challenge was to make something with an hourglass block in it. This blog hop is hosted by Carol of Just Let me Quilt.

I'm never sure what I'm going to make for these hops. Sometimes I go down the Pinterest rabbit hole, or I play around in EQ8 until something strikes my fancy. This time I took the EQ route and deleted more ideas than I kept. But I finally settled on something I thought would fit the parameters of the hop. 

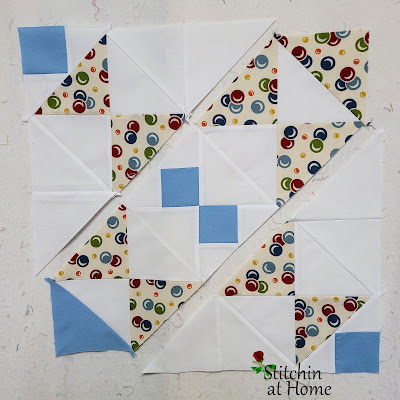
one hourglass block... it's a start


I am still trying to use some older less loved fabrics in my stash. All the fabrics for my project are from Moda.

one block coming together

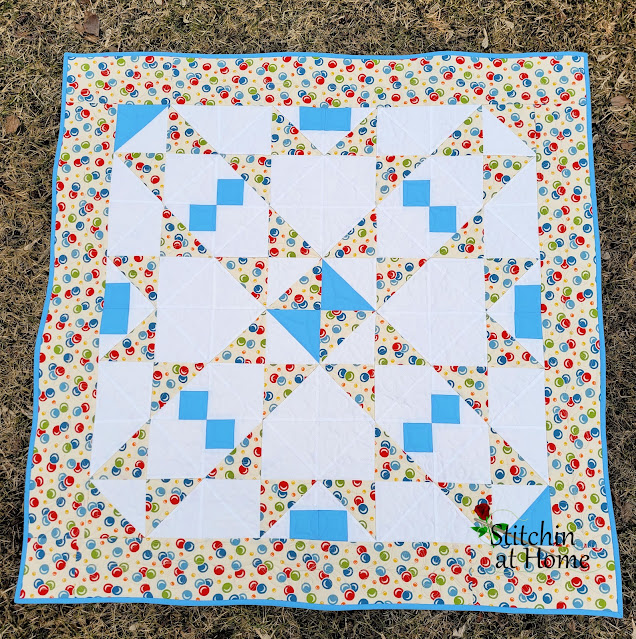
I think it may have been better if I had reversed the colours, however, I was limited by the amount of blue solid I had and I really wanted to use up that bubble fabric. 

the quilt top would have benefited from a inner blue border

I kept the quilting simple on this quilt. I did loops de loops in the background fabric. Some curves in the squares and triangles. Those triangles are busy enough without overdoing the quilting that wouldn't have shown up anyway.

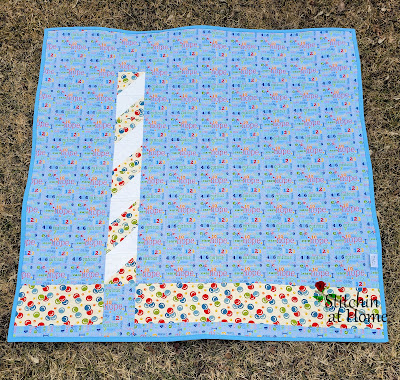
a pieced backing to use up the leftover pieces

I am happy to say all I have left of the bubble fabric are a couple 3-inch squares, I call that a win.

This quilt will be donated to Ronald Macdonald House in London as part of Hands2Help. You can read more about that over at The Academic Quilter's blog. The quilt finished at 40'' x  40''.

Now let's see what the other bloggers of the hop are making today.

Wednesday, 16 February 2022

Tickled Pink Blog Hop

 Today is the final day of the Tickled Pink Blog Hop! It is being hosted by Carla of Creatin' in the Sticks.  
It seems I have been bringing up the rear lately on these hops, I think they are leaving the best to the last. At least that is my opinion!

We were to create something with pink in it, with five granddaughters I may have a fair amount of pink.
Bird in the Air blocks centre

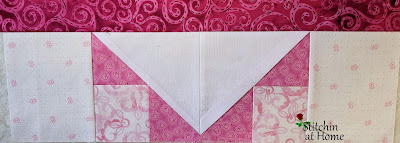
I pulled a couple Bird in the Air blocks out of my orphan block draw, sewed them together, and added a fabric square to each side.

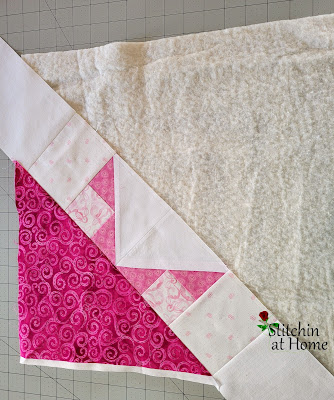
quilt as you go

I decided to do a quilt-as-you-go method for my project. 

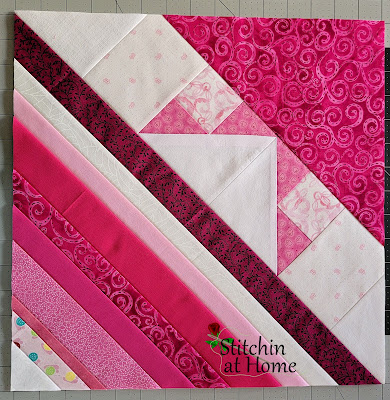
A variety of pink strips for the top

The above piece is 15'' x 15''. Looks okay, but I think it could use a little something more.

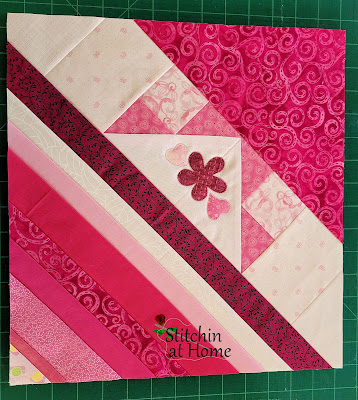
that's better

A little applique and I think the front of my project is done. Now on to the back I pulled a piece of fabric from my stash, no idea how old it is. My guess would be early 90's?

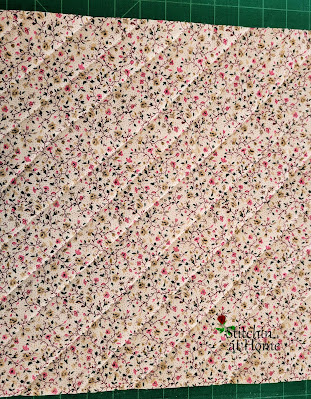
simple diagonal line quilting

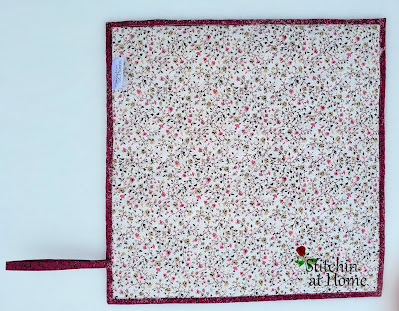
I made a quilt sandwich of batting and the fabric, both sides of the sandwich use the same print.
I made this piece 15'' x 17''.

the back in the freshly fallen snow

By now I'm sure you're wondering what did she make. 

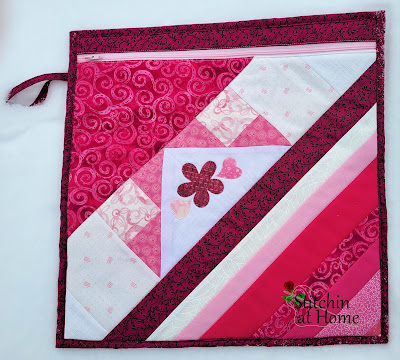
Tada! A project bag

I made a fully lined zippered project bag. The bag finished at 14 1/2'' x 14 1/2''. Now the next question is what will I be putting in it, at this point no idea. Maybe I will list it in my Etsy Store, StitchinatHome.

Let's see what my fellow bloggers have made, today's list is below.

Wednesday, 18 August 2021

Orange you Glad Blog Hop

 Hosted by Carla from Creatin' in the Sticks. This blog hop challenge was to "Create something inspired by the color orange''. 
I am proud to be a Canadian, however, we have a nasty history with indigenous peoples. If you would like to read more about the 'Truth and Reconciliation Report of Canada go to Sandra of mmmQuilts blog as she has been explaining the report. The project she has been making inspired me for my blog hop project. Sandra has been making flying geese and some hearts.

fabric pull the oranges are 6 inch strips

 I liked what she was doing and I knew what I wanted to make. My heart goes out to the indigenous people and what they have been through, so I knew hearts were going to be in my design. The flying geese in red I was using as a symbol of Canada.


hearts and geese

I paper pieced the hearts using 6 different oranges.

'A New Direction' hanging out in the garden

Some simple crosshatch quilting, I did a one-inch grid. In the orange border some swirls.

orange in the backing
The backing is a piece leftover from my Garden of Scrap quilt, it is from Connecting threads. I had picked up a few different backings when they were on sale.

If you would like to make your own table runner, the pattern is on sale in my Etsy shop till the end of the month. 

The rest of the participants on this the last day of the hop are:

Monday, 21 June 2021

Fairy Tale Blog Hop

Joan of MooseStash Quilting was in charge of this hop. The theme of this hop is fairy tales. My Fairy Tale started out innocently enough.

You all know the tale of 3 pigs, a big bad wolf, and the three houses, brick, wood, and straw. I made the brick house first as it was the strongest.
strong brick house with the little pig looking out the window for the big bad wolf

I was going to make book pages with the houses, pigs, and wolf. I printed out a part of the tale on an EQ printable sheet, cut it apart, and added part to the first page I made.

open book page

This is where my tale took a turn, I wasn't getting the fairy tale feel. So let's start again. 

As all good fairy tales begin: Once upon a time there were some scraps looking on sadly as they were not being used. While the creator of the pig tale was trying to come up with an idea that worked better. As she was looking at us, she suddenly had a gleam in her eye, and not skipping a stitch she brought us out to play. We squealed with delight as we joined the three little pigs, in a quilt sure to be loved by a child. 

I keep small HSTs made from cutoff triangles in a container, they made quick work in making some 4 1/2'' churn dash blocks.

auditioning spacer strips

In order for my pieced border of churn dash blocks to fit. I first needed to add spacer strips to do this I measured the centre, top to bottom of the piece. Time for some simple math. In my case the piece was 16 1/4'' long, add a seam allowance of 1/2''. So, I cut my pieces 1 3/4'' by 16 1/4''. Do the same to determine the strips that go on the top and bottom in my case 15 1/2'' x 2 1/4''. Sew the left and right spacer strips and then the top and bottom. Now I was ready to add my borders, which fit perfectly. 

the borders looked wavy, I just tossed and snapped the photo, this caused the quilt to look wavy


my new quilter holder upper is my grandson, he can be quite the character. As you can see the borders are not wavy.


I quilted straight lines in the green borders, in the print border I quilted pig and wolf outlines with loops. 

And that my gentle readers is the story of how the three little pigs and the scraps lived happily ever after together. 

The END!

For more Fairy Tales be sure to check out the rest of today's bloggers:


Tuesday, 18 May 2021

Born to be Wild Almost

 Thanks to Carol of Just Let Me Quilt for organizing another wonderful hop. When I first saw the theme for the 'Born to be Wild' blog hop all that kept going through my mind is the song 'Wild Thing you Make my Heart Sing' sung by 'The Troggs' in 1966.  We were to sew something that's jungle-related. Like jungle animals, wild colors or designs, or jungle fabrics. In my defense for going roque, flowers and butterflies are in the jungle. RIGHT? Ahh all is good then, on to my project. Hopefully, Carol forgives me for doing my own thing.

The things that make the heart sing are the things that give you joy and happiness. I love flowers of any type, colour or shape. While my heart was singing I drew.

drawing out a plan

I drew out a design on a piece of freezer paper, it was convenient and big enough to do all on one piece of paper. After that, it was a simple matter to cut out what shapes I wanted to use for the 'Crafted Applique Method' my favourite method by far.

a few fauna and a wild butterfly, yup that fits the guidelines

For the quilting I did some 'Wild FMQ' from Christina Cameli's books. I stitched in the ditch around my applique pieces.

Okay are you ready, I did actually use an animal print for my project. It just happens to be on the back. It required a little bit of piecing to make it the right size. 

What makes your heart sing?

    The other bloggers for today are:

Tuesday, 20 April 2021

Kitchen Stitchin

 Another fun blog hop from Carla of Creatin in the Sticks, this one in the kitchen. 
We were to create something inspired by the kitchen. It could be pot holders, tea towels, coasters, placemats, table runners, mug rugs, or even a toaster cover. It was our interpretation of a kitchen project. Anything kitchen.

I have three quick kitchen projects to show you today. First up an apron for my granddaughter who is finding a love for baking and cooking. 

which first baking or cooking or maybe a little of both

I'm still shopping my stash and didn't have a piece big enough for the full length of the apron. I also didn't have a pattern, this was a fly by the seat of my pants project. For the bottom skirt, I used 'Raindrops and Sunshine' by Wilmington prints, which was a 20'' x 20'' piece. The top bodice piece was made using 'Brushstrokes' by Cloud 9 fabrics, which I cut 10 1/2 x 20''. A pink Kona cotton 2'' strip was used between them. 

I used my fashion ruler from my clothing sewing days, for the curves of the bodice 
I cut the bodice on the fold and cut the side curves with the fabric still folded right sides together. The top edge of the bodice was 5'' from the fold, the fold is to the right in the above photo, and the bottom was as you can see on the corner. This gave me a nice gentle curve. I sewed the bottom and bodice together using the pink strip between them. I did line the apron with the same Kona pink. The ties were 32'' long, long enough to wrap around to the front and tie.

Next up is a linen bread bag. 

I make a lot of bread for myself. I usually make a small loaf. The recipe for the one I have made a few times is here. Even with it being a small loaf, I've still found that I don't use it up fast enough. So began the search for how to keep bread fresh longer, the answer was simple.. linen. Linen is breathable, keeps the bread in the dark, is washable, it doesn't seem to dry out in them either. I'm sorry I don't have a link for the info on linen, but I read so many different ones, I just combined the info from a bunch of different sites. I have been using mine for a few weeks now and really like it.
On to the project, I knew somewhere I had a couple pieces of linen, that someone had given me at one time.  They were stained and not something I would want to display.

this piece has a stain in the upper left corner

you can clearly see the discoloration in this one

The size of my bread bag was determined by the size of the linen pieces I had. I did a french seam to keep the threads of the linen from raveling. A piece of ribbon or you could do a drawstring depending on the size of your linen. I stitched the ribbon on the back of the bag and use it to tie the bag closed.

I kept the original lace as I liked it and didn't have the heart to cut it off. I like vintage lace and have a few pieces, including Belgium lace that my husband's grandmother made.

My finished bread bag is 16'' x 10''. 

As a bonus no more plastic bags.

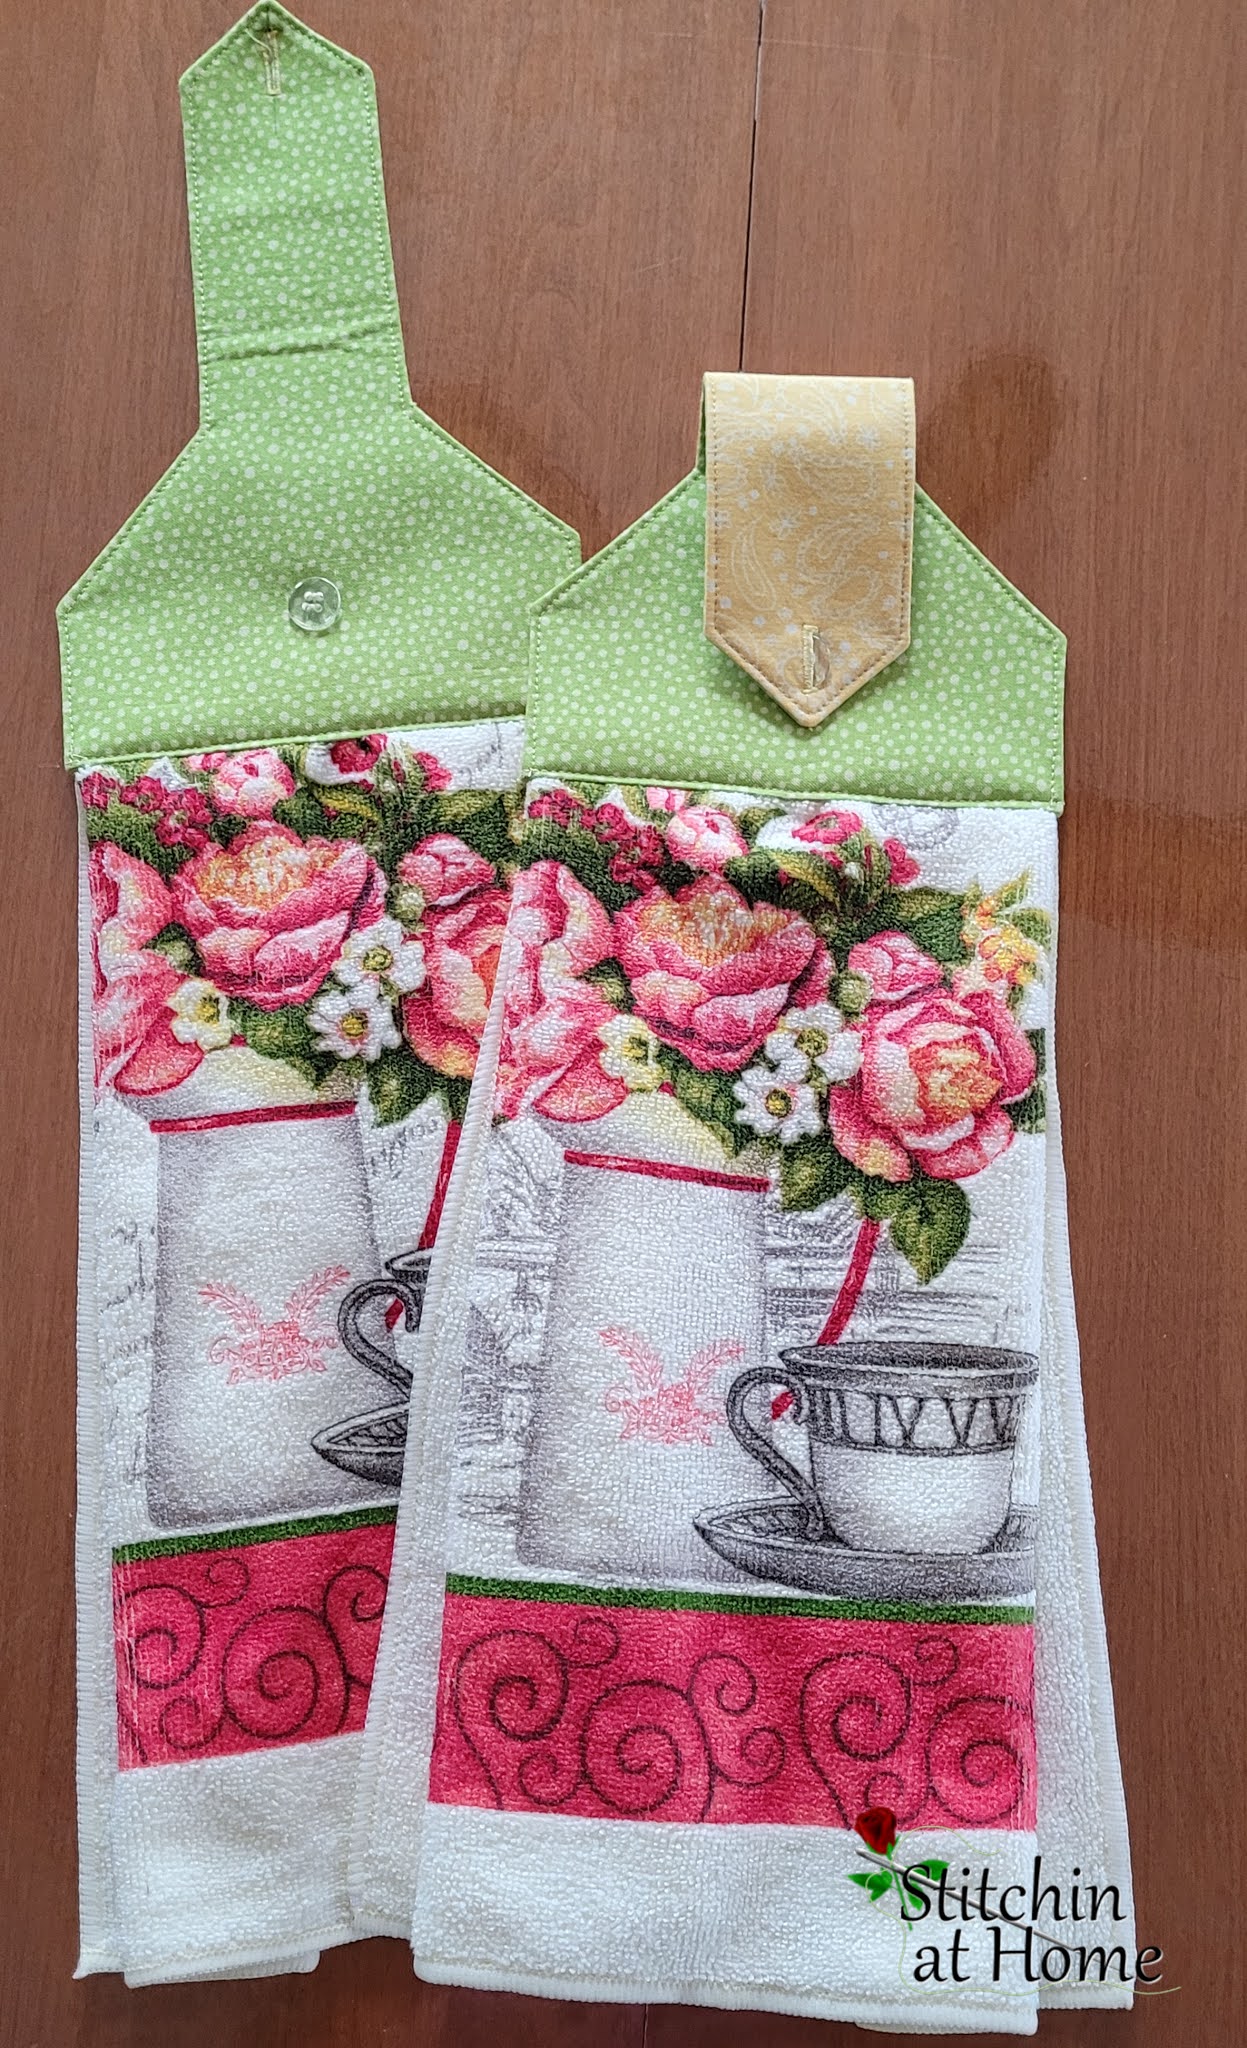
Up last I like to have a towel hanging on my oven door, mine were well used and needed replacing. You can see one in the photo of my granddaughter.  I had picked up a new towel, just prior to our latest stay-at-home order in Ontario.

a fresh spring/summer look for my stove

Now let's go see what my fellow bloggers have been stitchin in the Kitchen


I love to read your comments and will reply to them all via email unless you are a No-Reply Blogger.

Wednesday, 24 March 2021

Salt and Sand Blog Hop

 Starfish or more accurately Seastars were my inspiration for my project in the Salt and Sand Blog hop, organized by Carla at Creatin’ in the Sticks
My starfish is hanging around in the rocks, usually, it's in my bathroom.
 
Did you know that all starfish resemble stars, the most common only have five arms, although some of them can grow up to 40 arms?  Interested in reading more fun facts about Starfish check this out.

Thread selection, not all of these made the cut

I drew out the shape of the starfish and traced it onto my fabric with a Clover Air Erasable marker. 

little bubbles
 I free motion quilted a star in the centre of the starfish radiating the bubbles out into the arms. There are some tiny bubbles in these arms, I used Aurifil #4666 40 wt variegated thread.

For the background, I used Superior Thread #4037 Twist and free motion quilted some curved lines trying to give the effect of underwater mountains. I added a few delicate water plants using Aurifil #3817 40 wt. I wanted the starfish to be more pronounced and the background to stay in the back, I think I accomplished that.  The piece is 10'' by 9 1/2'' and I used my favourite batting  Hobbs 80/20.

Want to see what fun my fellow bloggers are having in the salt and sand?

Monday, 22 February 2021

Stripes Blog Hop

Thanks to Carla at Creatin’ in the Sticks for organizing 'Show Your Stripes' blog hop. We were asked to create something that had stripes in it. The stripes could be fabric stripes or striped fabric. Let the ideas flow. Stash using time, here I come.

These have only been in my stash since maybe 2014

I had a meter of each of these Northcott stripe prints, at least they look like stripes to me. Now I needed a pattern. I played in EQ8 and decided on this simple block.

I like this block with a little turquoise and pink going on

It really didn't take long to make the blocks up, I had decided on a 4 x 4 layout. The blocks are 10 1/2''.

I added 3 borders framing the pink narrow border between the turquoise

I thought I had a picture of the top before quilting but I may have deleted it by mistake. The above photo is the quilt top in EQ8.

quilting in one of the four negative space squares

I quilted the four squares of negative space the same. Swirls towards the centre of the quilt, then a row of ribbon candy, and finally straight lines in the other half of the square. It is hard to see the quilting without the sun, I took over 10 different pictures and this one was the best. You'll have to trust me the texture of this quilt looks great.
 
No sun today, only overcast and rain.

The white triangles along the sides are all quilted with straight lines. 

the back shows the quilting better

What have you made with stripes lately? Want some more ideas just go visit some of my fellow bloggers and see what they made.

Tuesday, 19 January 2021

Shattered Heart

 In Ontario, where I live, we are in a lockdown situation to try to curb the numbers of Covid cases. Ontario Declares Second Provincial Emergency to Address COVID-19 Crisis and Save Lives. These lockdowns are hard for a person living alone. I have been trying to do more walking to keep myself active. I have also been slowly getting back into quilting. The blog hops I have been in recently have helped, I think my mojo may be returning.

Now let's get to the 'Hearts on Fire' blog hop, hosted by Carol of Just Let me Quilt. The rules were simple to make a heart project, only the heart can't be red. 


I ran a few different ideas through my mind but kept coming back to the same one. What else was I to do but go with it, I started with a quick sketch of an idea. 

graph paper comes in handy for quick sketches

Now that I had an idea I needed a plan on how to make it. Improv came to mind, although not my favourite method. But what the heck I might as well go right out of my comfort zone while I'm at it. 
I pulled out some Island Batiks that I won from Sandra of MMMQuilts

My hubby's favourite colour was blue and mine is green and those batiks were perfect for what I had in mind. 

I started to cut a few strips of the background and the coloured pieces and stitched them together. I was all in if it worked so much the better if not maybe I could paper piece it.


As I stitched the pieces together I added a background piece to each side.

slowly coming together from deepest green to blue

I kept thinking I hope this works and looks okay.


 A narrow 1/2 inch inner border and an outer 2-inch border. For the quilting, I kept it simple and just echoed the heart shape. 

After all that worrying about whether I was going to like it or not...I do. 

Sit back relax and see more hearts on fire from my fellow bloggers.