Showing posts with label pillow top. Show all posts

Sunday, 19 February 2023

Love to Read

 Project 14.4 had us making a project inspired by books. I started thinking about the many books I've read. The most rewarding of them all was reading to my children when they were younger, and now to my grandchildren. 

a very small selection of my grandchildren's favourites

For my project I decided to make a reading pillow for my youngest granddaughters. 

I appliqued the letters to the pocket

I printed the letters on some Steam-A-Seam 2 and followed the directions of simply peel, stick, cut and press. I did a buttonhole stitch using MonoPoly from Superior threads as I know the pillow will need to be able to be washed without worrying about the applique ever lifting off.

straight line quilting of the front

Bright and cheery fabric for the front of the pillow. 

I added a handle at the top to make it easier to carry around


The pillow is 16 inches square and I used a 14-inch pillow form to keep the pillow soft and comfy to snuggle up with a good book.


Wednesday, 2 December 2020

2020 Virtual Cookie Exchange Blog Hop

 This is day 3 of the Virtual Cookie Exchange and Christmas Blog Hop, hosted by Carol at Just Let Me Quilt


What better time than Christmas to share a sweet treat, even if we can't all be together this year, we can always pop some cookies in the mail and share the joy of giving that makes Christmas so merry! Christmas is definitely going to be different for me. Normally I am a Christmas nut but with the loss of my hubby and not being able to have Christmas with all my children and grandchildren this year I am dreading it.

The cookie recipe I will be sharing this year is Cinnamon Roll Cookies. My grandma made the best cinnamon rolls, you know the ones made with sweet yeast dough. Yum, I do make them but these cookies are so much easier and almost as good. I think you'll enjoy them as much as my family does.

Cinnamon Roll Cookies

Ingredients
2 1/4 cups all-purpose flour 
1/2 teaspoon baking powder
1/4 teaspoon salt
3/4 cup unsalted butter, softened to room temperature
3/4 cup granulated sugar
1 large egg, at room temperature
2 teaspoons vanilla 
Filling
2 Tablespoons butter, melted and slightly cooled
1/4 cup granulated sugar
1 tablespoon cinnamon
Icing
1 cup confectioners’ sugar
3 tablespoons milk
1/2 teaspoon vanilla 

Cookie Dough:
Using a mixer, beat the butter for 1 minute on high speed until creamy. Beat in the sugar until completely creamed and smooth, about 2 minutes. Add the egg and vanilla and beat until combined, about 1 minute. Scrape down the sides and bottom of the bowl as needed.
Add the dry ingredients to the wet ingredients and mix on low until combined.

Making the rolls: 
Divide the dough into 2 equal parts. Roll each portion out in a rectangle approximately 9×7 inches to about 1/4″ thickness. 
Kind of a rectangle, but it's all good

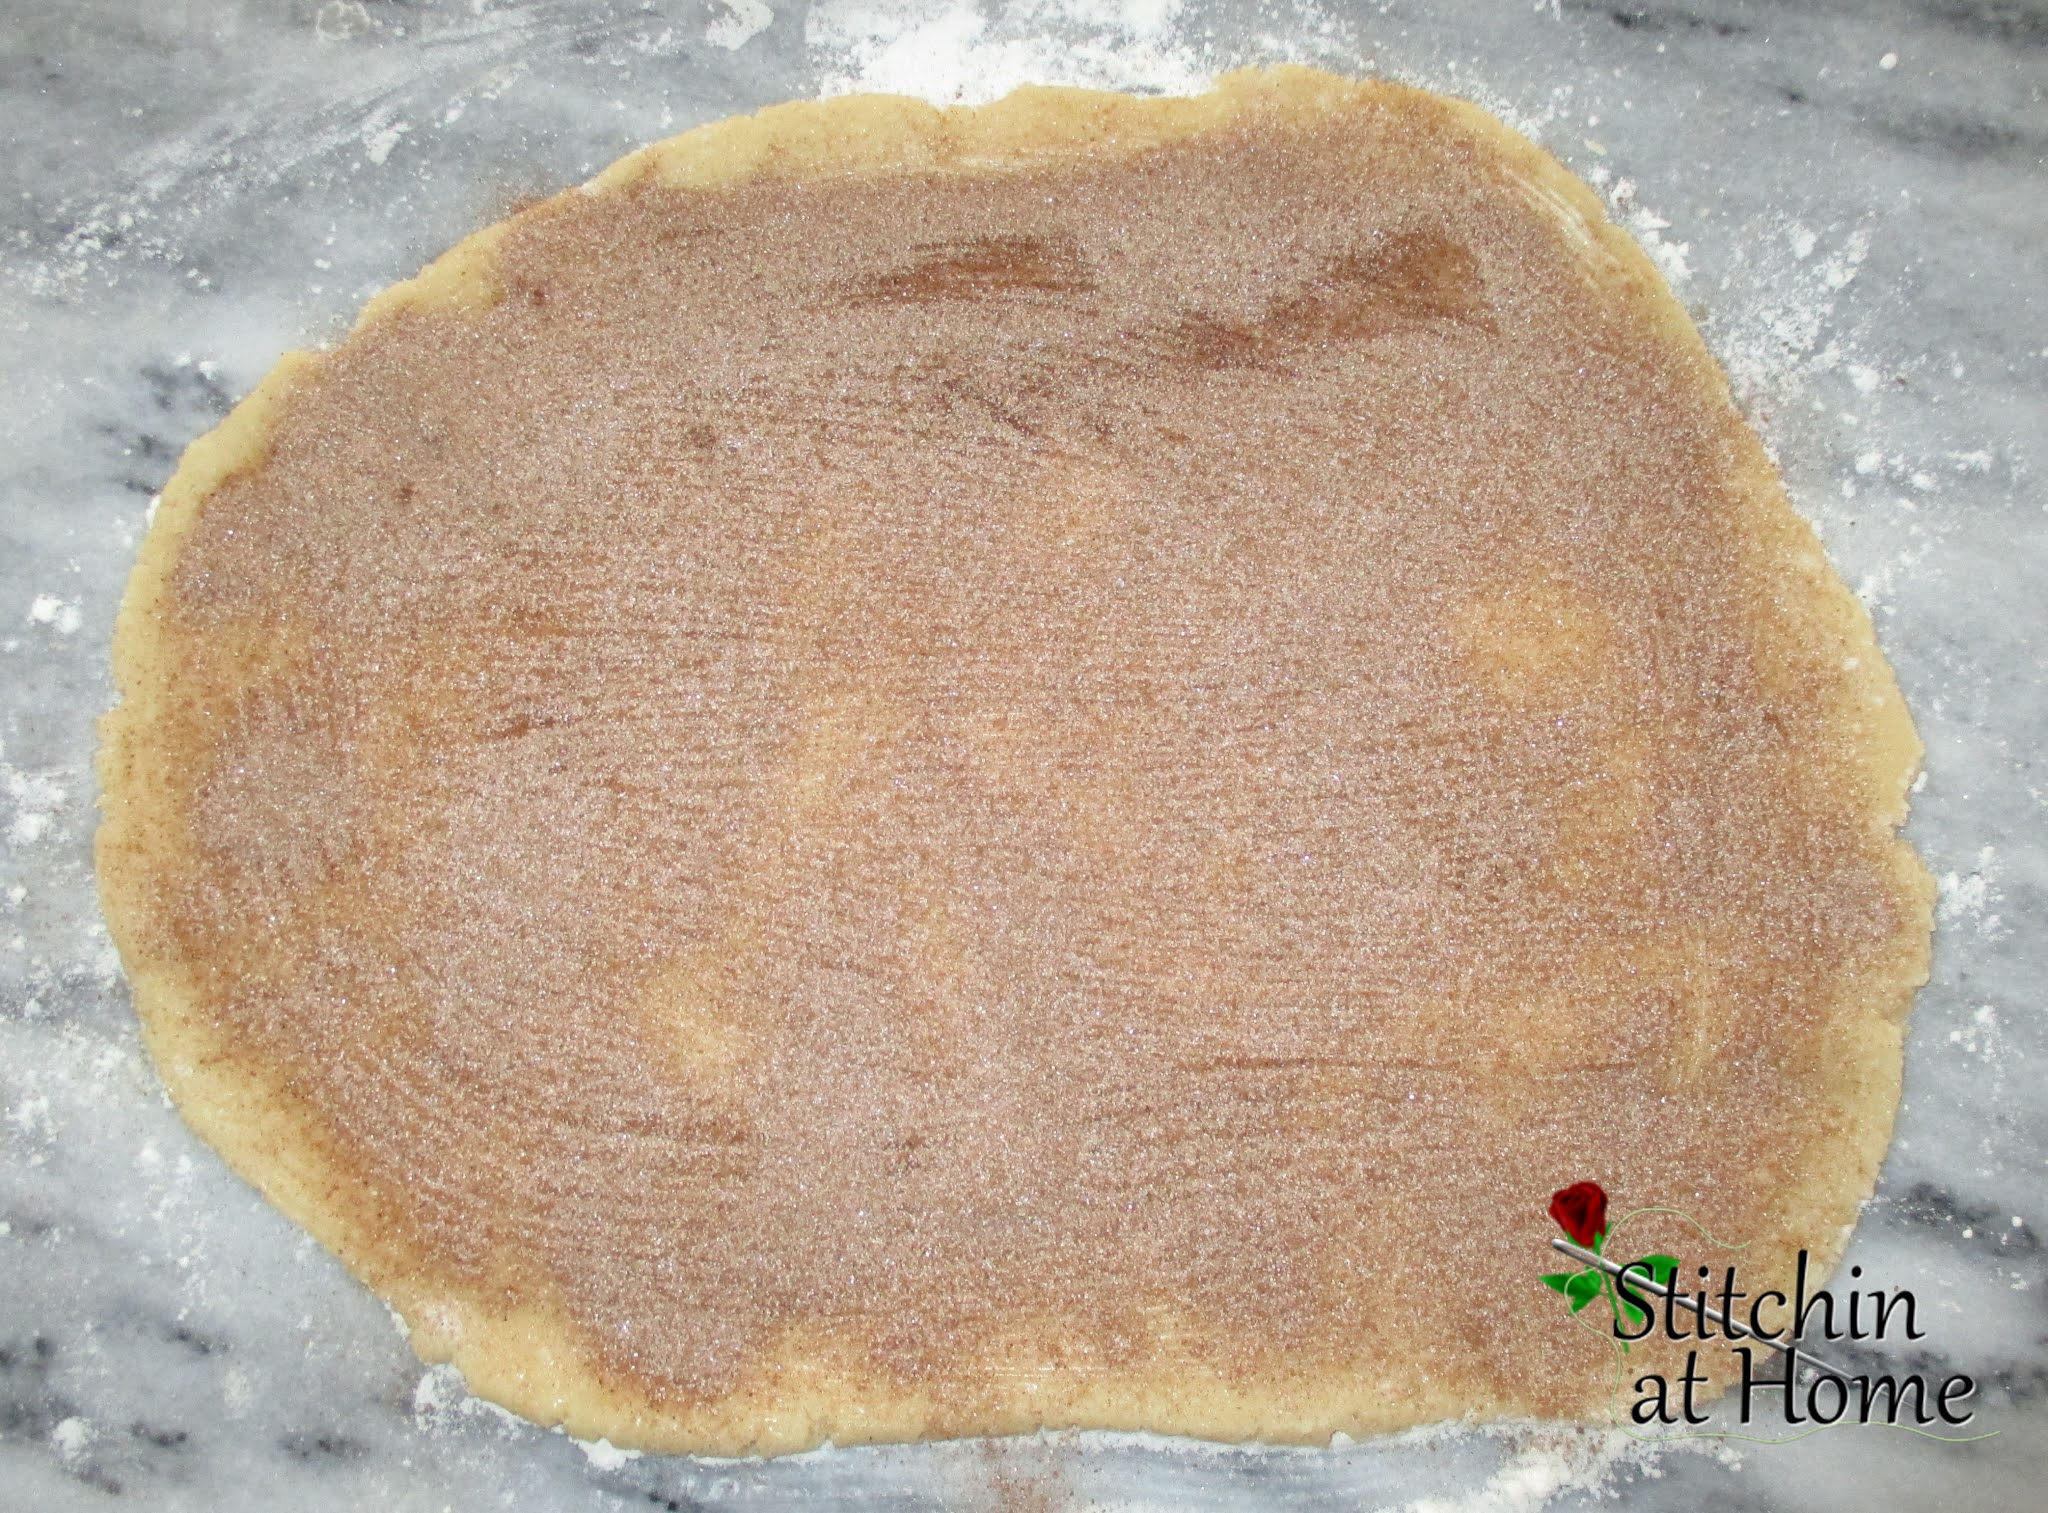
Spread 1 tablespoon of melted butter onto each rectangle. Mix the sugar and cinnamon together then sprinkle evenly over each roll.

cinnamon sugar sprinkled on rolled out dough

Working slowly, tightly roll up each rectangle into a 9-inch log. If the dough cracks use your fingers to smooth it out. Some cracks are fine. Wrap in plastic wrap, and chill the logs of dough for at least 2 hours. 
Preheat oven to 350°F. 
Remove dough logs from the refrigerator. Cut into 1/2 inch slices. Place slices onto baking sheets lined with parchment paper 2 inches apart.
Bake for 10-11 minutes, until lightly browned. Remove from the oven, allow to cool on the baking sheet for 5 minutes, then transfer to a wire rack to cool completely before icing.

Icing: 
Mix all of the icing ingredients together. Drizzle over cookies. Cover and store cookies at room temperature for up to 5 days. They also freeze well.

I like to place parchment paper under the cookies before drizzling the icing. I reused the parchment that I used when baking the cookies.

For my Christmas project, I made a  pillow top, in traditional colours.


I kept the quilting simple as I wanted a soft fluffy pillow. You can get the pattern in my Etsy shop.

Take a little time to visit the other blogs and pick up some more recipes for sweet treats.

Tuesday, 18 July 2017

'Joy' it's Christmas in July

I now have a pillow for my Christmas decorating, I know shocking right. It took this blog hop to accomplish something I've been meaning to do for the past few years...ugh yes I said years. But it is done and best of  all you can add some 'Joy' to your holidays too as the pattern is free. Thanks to Sarah of Confessions of a Fabric Addict for hosting the '12 Days of Christmas in July' blog hop and giving me the push to finally make a Christmas pillow or maybe it's a wall hanging.

'Joy' wall hanging

pillow cover nice and crinkly after a wash 

The hop runs from July 14th to the 25th. Make sure to visit all the blogs participating the schedule is at the end of this post. Make sure to leave a comment as Sarah is counting them for an extra special giveaway, you can read more about it on her blog Confessions of a Fabric Addict.

The pattern is for the pillow front or a wall hanging if you prefer. Either way have fun and add a little 'Joy' to your Christmas decorating. As you can see in the above photo I used three different greys for the background.

pillow front

Makes an 18'' x 18'' finished pillow front or wall hanging.

Fabric Requirements

Chevrons:
1/4 yard of each a light, light medium and medium grey.

Snowman:
A variety of larger scrap pieces work well.
The snowman can be made from a 10'' square, the letters from (2) 8'' squares.

Cutting for the chevrons/ flying geese:
Traditional Method:
A(light) cut (3) - 5 1/8'' x 5 1/8'' cut diagonally once
B( lt medium) cut (3) - 5 1/8'' x 5 1/8'' cut diagonally once
C(medium) cut (3) - 5 1/8'' x 5 1/8'' cut diagonally once

A(light)  cut (6) - 3 7/8'' x 3 7/8'' cut diagonally once
B( lt. medium)  cut (6) - 3 7/8'' x 3 7/8'' cut diagonally once
C(medium)  cut (6) - 3 7/8'' x 3 7/8'' cut diagonally once

The Snowman Applique pieces are cut using the templates supplied. If you are doing turned edge applique remember to add a 1/4'' to the template pieces before cutting them out. The pieces are reversed and can be downloaded in the PDF on Craftsy

Background:

Use a 1/4'' seam allowance.

Traditional Method
Step 1:


Sew one small triangle (B) to one diagonal edge of the large triangle (A); press toward the small triangle. See diagram 1.

diagram 1
 Sew the second small triangle (B) to the other diagonal edge of the large triangle (A) to make a flying-goose unit; press toward the small triangle. See diagram 1.
This makes one 3 1/2'' x 6 1/2'' goose. Make (6) BA units.

Step 2:
Repeat using small triangle (C) and large triangle (B). Make (6) CB units.
Repeat using small triangle (A) and large triangle (C). Make (6) AC units.

Step 3:
Join 3 BA units, see diagram 2. Make 2.

diagram 2

 Repeat using 3 CB units. Make 2.
Repeat using 3 AC units. Make 2.

Step 4:
Join as per diagram 3.

diagram 3

This completes the background.

Applique Snowman:

Use your favourite method for applique. Instructions follow for fused machine stitched applique.

Fusible Applique Method:

Step 1:
I like Lite Steam-A-Seam 2 because it leaves less weight in the finished product and it's a double sided fusible. Trace your pattern on the side of the paper where the fusible adheres to the paper more strongly (usually one side of the paper releases more easily than the other - trace on the side that does not release easily).
On the larger pieces, less fusible is needed making the finished center more pliable.
To do this, take your original tracing, and cut from the inside, approx 1/4" inside the traced line. Rough cut beyond the traced line on the outside of the fusible. See diagram 4 as an example of the letter 'J'.

diagram 4

Step 2:
Adhere to fabric as per package directions.
Cut on the traced lines.

Step 3:
Align the pieces using the placement guide. A light box or window help for proper placement.
Press to fuse as per your package instructions.

Step 4:
Machine stitch using your preferred stitch and settings. I like the buttonhole stitch myself.

I quilted a 1/4'' on each side of the chevrons and around all the elements in the snowman. 


Here are the blogs participating in the 12 Days of Christmas in July blog hop!

Friday, July 14th


Saturday, July 15th


Sunday, July 16th


Monday, July 17th


Tuesday, July 18th


Wednesday, July 19th


Thursday, July 20th


Friday, July 21st


Saturday, July 22nd