Showing posts with label Stars. Show all posts

Sunday, 8 January 2023

Project Quilting 14.1

     It must be a New Year as Season 14 of Project Quilting has started. The first one is indeed the 'First One'. All that's been going through my mind since I first read the challenge has been 'One singular sensation' from 'One' by Marvin Hamlisch. The lyrics praise a singular star, oh I can work with that. Stars are one of my favourite blocks.

    
quilted and ready to put together

    Now what to make with a single star. I pulled some scraps and made a 3'' finished star. Okay, that was easy, but what to do with it. Why not make something useful, I've been thinking of making a rotary cutter cover, to put my rotary cutter in when taking it to guild. Time for some more scraps. I used a scrap piece of Thermore batting and a scrap fabric for my quilt sandwich. I did a crosshatch for the back of the rotary cover and some stitch in the ditch for the star. Sew the front to the back, add a single fold binding, and one singular rotary cover is done.

getting ready for the next project

I don't know if it's a singular sensation, but I think it turned out okay. Plus a few bits of scraps are put to good use.


Monday, 18 April 2022

Wonderful World of Colour Blog Hop

 This hop is hosted by Joan at MooseStash Quilting, the challenge was to make something inspired by the world of colour. 
Scraps lend themselves to the use of many colours and when tamed into an eye-pleasing design they become the star of the quilt.

taming of the scraps into crumb blocks

I did a little sorting of some (there are too many to do them all) of my scraps. The job didn't get finished before, way before. Okay if I'm being honest I never did finish sorting them, the sewing machine was calling my name. And off I went full steam ahead just sewing scraps together into crumb blocks. This type of sewing is a no think just grab a scrap and sew it to the previous pieces. Sometimes all we need is mindless sewing. 

a few of the crumb blocks

I trimmed the crumb blocks into 6 1/2'' squares, added a neutral 6 1/2'' scrap, and made 5 1/2'' HST's. 

I used two crumbs blocks for each star

I debated with me, myself and I, we had quite the conversation, as to whether the centres of the friendship stars were going to be white or a solid colour. The white won out, this time. 

a pieced flimsy

The next decision border, yes or no. A pieced scrappy border, a solid border. Please let me know what you think.

Unfortunately, this is as far as I got, which is a first for me. I always have a finished project for these blog hops, but I ran out of time to complete it.  Oh and that border decision didn't help any.

Now let's see what wonderful colour projects my fellow blog members have come up with today.

Sunday, 20 February 2022

Project Quilting 13.4 Diamonds

 Project Quilting is hosted by Kim Lapacek of Persimon Dreams. In this week's challenge, we were to use Diamonds. We could combine triangles, or split rectangles. It didn't need to be literal, we just need to explain our use of diamonds.

I wasn't sure how I wanted to approach this challenge, I was limited by time constraints as it was a busy week dealing with a family member. All is well, just real-life stuff happening.

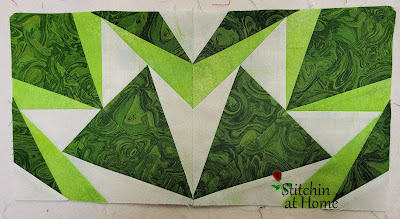
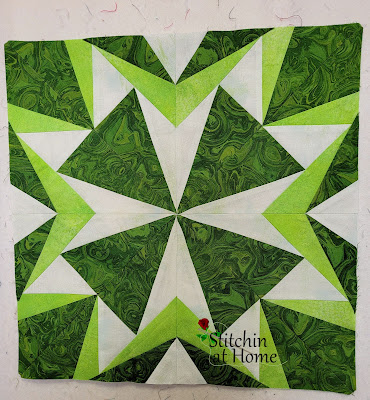
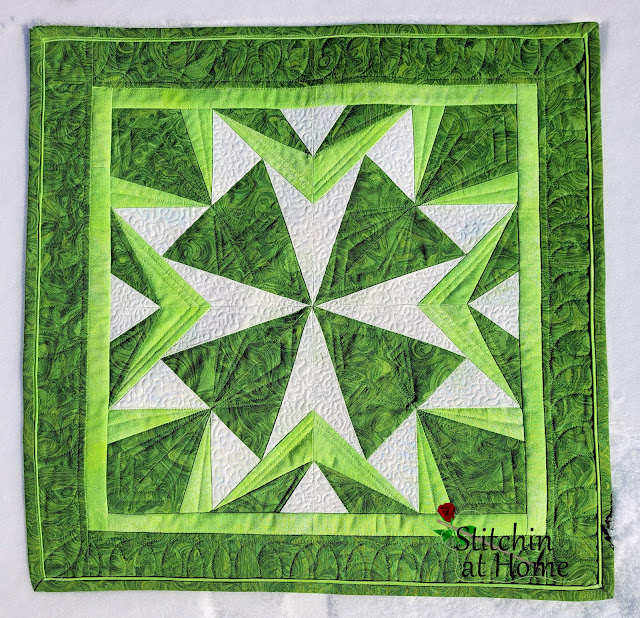
Feeling inspired I fired up EQ8 and started playing with triangles and squares, what evolved was a paper pieced pattern. Not the best idea when I didn't have a lot of time. But I like a challenge and this was a challenge.
two of the four blocks needed

Not looking much like diamonds, except the corners do have a diamond shape. Right? Loving the green, which may have something to do with it being my favourite colour.


ready to add a couple borders too

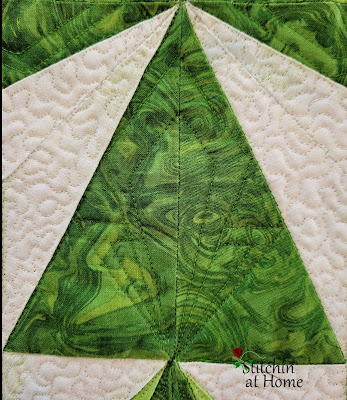
diamonds quilted in the centre pieces

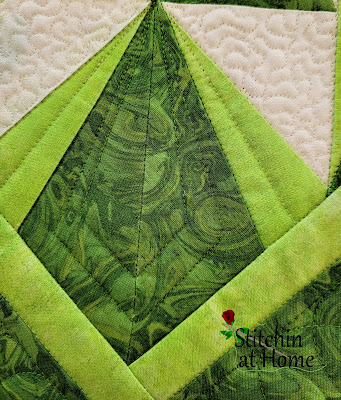
I quilted diamonds in the centres, this is a take on an Angela Walters design. I also quilted diamond shapes in the four corners.

diamond corners with diamonds quilted in them 

Of course, when one is pressed for time, it seems everything that can go wrong does.


oops, ripping time here I come

And it didn't stop there. When trimming the sides after I was done free motion quilting it, my ruler slipped and I cut more off the sides than I really wanted to.

then there was a game of binding chicken, I won


Whew! I made it

I like the star in the design. I think I accomplished the challenge.

Sunday, 26 December 2021

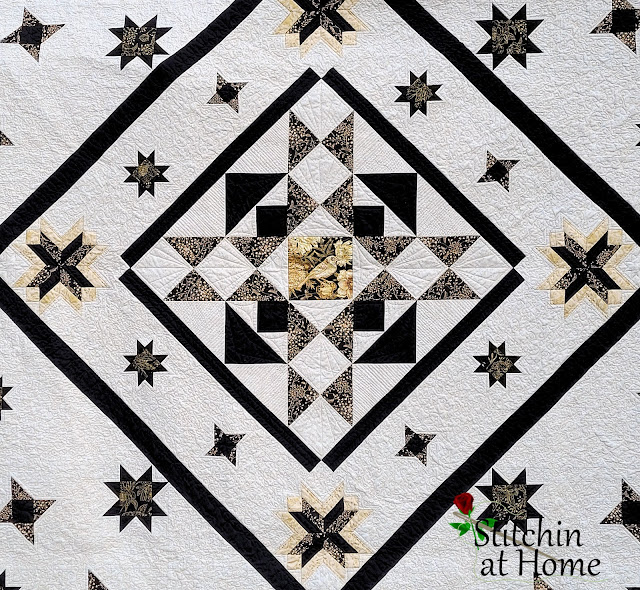
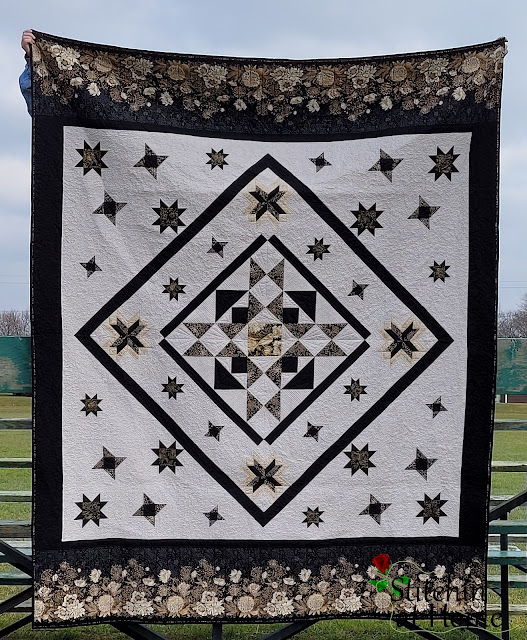
Granddaughter Quilt 'Shining Star'

The gifting of the quilt I made for one of my 5 granddaughters is done. I can now show you her quilt.

Nevaeh is my youngest son's oldest daughter and is 13, she has been through two major surgeries in her life already. The first when she was only a month old and the second when she was six. She is doing fine and hopefully will stay that way. When I asked what colour to make her quilt, all I was told was black. I just couldn't make a completely black quilt and was totally lost as to how to proceed.

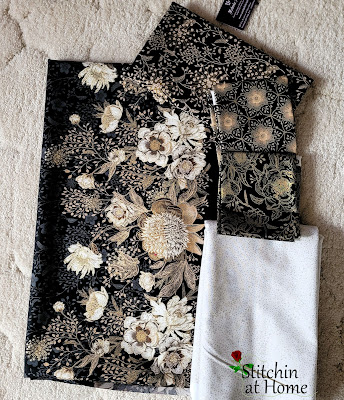
Northcott Kensington Park border print and Northcott Shimmer 

When I saw this border print from Northcott I fell in love with it and my hope was that Nevaeh would too.  It was now Nov 9th, approximately 6 weeks until Christmas, and no plan in sight. Time to open EQ8 and start designing. 


I also used Kona black. The centre block is 24'' by 24''. 

More playing with inset seams

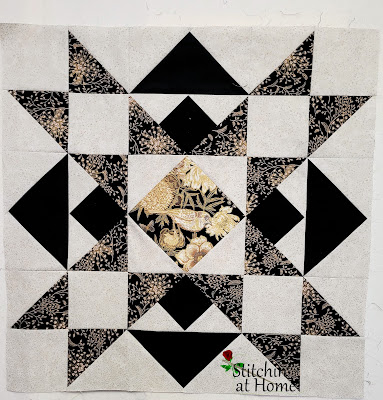
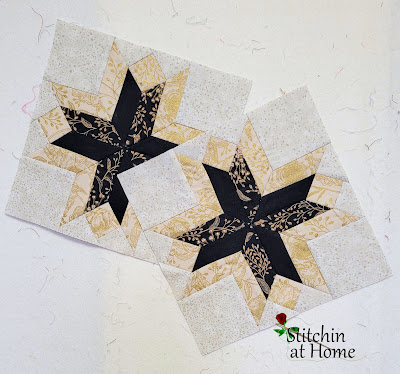
As if I didn't get enough inset seams making the block for the Virtual Cookie Exchange project you can read more about that here, I made four of the above blocks, what was I thinking?

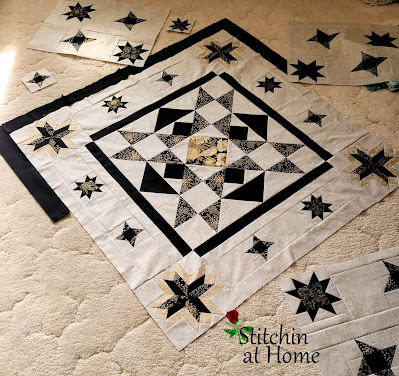
Dec 4th and a long way to go

Piecing this top was a priority, I wonder if the Elves feel like this at this time of year?

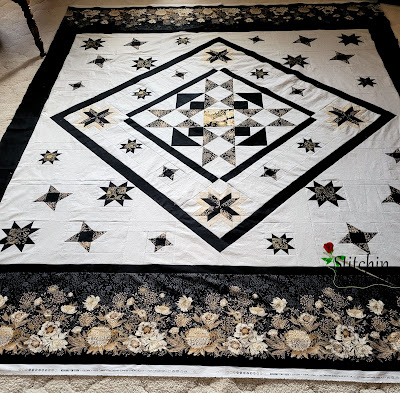
Dec 5th a completely pieced top, excuse the poor lighting 

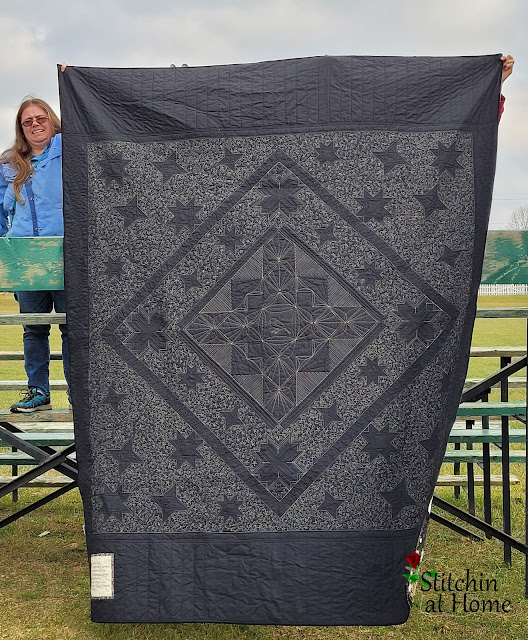
A sense of relief, with a finished top, now on to the quilting and 20 days till Christmas, with no idea how I wanted to quilt it. I started by stitching in the ditch, and then I let the quilt start talking to me. 


I kept the centre fairly simple. I outlined the bird and added some gentle curves. Straight lines radiating out from the centre and more curves.
I wanted the stars to pop so I echoed each star and in the background, I quilted small loop de loops and stars.
The black side borders I quilted feathers and the border print got straight lines spaced at an inch and a half.

the quilt required two holder uppers and of course, the wind was blowing

Binding and quilting were finished on Dec 21st, after more than 45 hours of quilting all on my domestic machine. I was one happy grandma!!

the back shows the quilting. My daughter helped hold it up

The quilt finished at 100 inches long by 90 inches wide. I think she was happy with her quilt.


Sunday, 21 March 2021

Project Quilting 12.6 Ab Intra

 Up until this morning, I was not going to do this challenge. This week's challenge is Ab Intra, or "from within." At first glance, I think the theme is a little intimidating and I have too many raw emotions to contemplate putting them into this. 

But, you know there is always a but somewhere. While having a coffee this morning I thought of this challenge and how we as quilters give freely and put our heart into all we do. We are all stars! 

 So the challenge started at 7:27 AM, nothing like the last minute to do this.

a fabric pull of scraps began. I thought of my inner heart and fresh beginnings. Of course, green being my favourite colour didn't hurt

Not much time for anything else, it was put the head done and sew.

by 9:20 I had made progress

Keeping the pedal to the metal, well maybe not metal. But I was going full out.

11:45 AM

I can't believe I made it. Simple straight line quilting echoing the shapes. This little piece finishes at 7'' by 7''. Need to go small when there is no time to spare.

And so I have 6 for 6 done! 

Saturday, 28 September 2019

Squirrels Happen

Have you ever started a project without a plan in mind? It starts out innocently enough. In this case I made an eight pointed star. Simple enough, right? You can read more about my favourite quilt block which are stars here.

two of six drawers of FQ's
 I am trying to use some of the FQ's I have. I do have a healthy collection, and they look so nice in all there glorious colours. But they need to be used not just collected.

purple was the choice of the day
Now as tends to happen with a squirrel one gets so involved that the camera is totally forgotten as you make the magic begin to happen. A square here a triangle there and before you know it you are looking at, if the stars have aligned correctly a project you are happy with. Of course there may have been a little oops, nothing mr jack couldn't fix.

a little turning of the blocks and all is fixed
I would like to make it bigger as it is currently only 36'' x 36''. I may be forced to go buy some fabric. I know having to buy fabric, how rough can it get. The current thought is to add a solid purple border to it.

amazing what a few fat quarters can grow up to become

I'm working on writing the pattern for this.

Have you ever made a quilt without a pattern?

I am linking up to Dreami #32 over at mmm! quilts.

Tuesday, 10 September 2019

My Favourite Quilt Block Hop


Thanks to Carla from Creatin' in the Sticks for running this fun hop.


 It was an easy decision as to what block I would be showing you today, Star blocks hands down. I like all stars the LeMoyne Star or Eight Pointed Star, the  Ohio Star, Sawtooth Star, Friendship Star to name just a few.
Star blocks are one of the most common patterns used in quilts. They are by far my favourite block.

Shall we look at a few.


Ohio Star

The Ohio Star is a nine-patch block made of quarter-square triangles around a central square, the Ohio Star block is a lovely quilt block. 


North Star or Sawtooth Star block

North Star one of the oldest block patterns. It’s been published by many pattern companies under many names, including Aunt Eliza’s Star or Variable Star, over the past 120 years or so. Today’s quilters often call it Sawtooth Star.


LeMoyne or the Eight pointed Star
The LeMoyne Star or Eight Pointed Star dates back from 1834 - 1859. The block can be made a couple different ways the traditional pieced using diamonds and y-seams. Or using HST's a much simpler version.

Some quick instructions for an Eight Pointed Star.

Cutting Instructions for 12''  Eight Pointed Star.

Background Fabric
Cut 4 – 3 1/2'' squares for the corner pieces
Cut 4 – 4 3/8'' squares for the half square triangles

Star Fabric #1
Cut 4 – 4 3/8'' squares for the half square triangles

Star Fabric #2
Cut 4 – 4 3/8'' squares for the half square triangles

Make 4 HST's using two background squares and two of star fabric #1.


Draw a line diagonally on the back of a the background fabric. Place on top of star fabric #1 with right sides together. Sew a 1/4'' on both sides of the drawn line. Cut diagonally on the drawn line. Press. Trim to 3 1/2'' by 3 1/2''. Make 4. 

Repeat using two fabric #2's and the background fabric.

Repeat using one each of the star fabrics. Make 4.

Arrange as per the photo of the Eight Pointed Star above. 

I call this one Star Points I'm sure it probably has other names as well. I designed this for my guilds BOM this year.

Star Points

How about we take a look at some of my patterns with stars?

Hearted Beauties

A large double star with heart shaped New York beauty blocks. You can read more about it here, the pattern is available in my Etsy shop.

Outside Stars
Stars Outside is a paper pieced pattern with stars. You can read about it here,  the pattern is available in my Etsy shop.

Another type of star quilt I've made is a Mariners Compass Star, you can read about it here.


I hope you have enjoyed a glimpse of my favourite quilt block and you have found a new appreciation for stars in quilts or blocks.

My Favourite Quilt Block Blog Hop Schedule. 

Monday, September 9th


Tuesday, September 10th


Wednesday, September 11th


Thursday, September 12th


Friday, September 13th

Wednesday, 23 May 2018

Wish Upon a Star Blog Hop

Welcome to my stop on the Wish Upon A Star blog hop hosted by Carol of Just Let Me Quilt.
Star Blocks are one of my favourite blocks. Carol has 44 people participating in this hop so sit back and enjoy some star studded blog reading. Thank you Carol for organizing this hop! A complete list of those participating can be found at the end of this post.
My project is a scrappy star block. As this is a scrappy project I will be giving the measurements of the pieces needed to make it and not an overall fabric amount. All seam allowances are a 1/4''.

Scrappy star block in my favourite colour

So here goes. We will be making the 16 patch center first, it is a simple 4 x 4 grid. Grab yourself (8) 2 1/2'' neutral squares and (8) 2 1/2'' coloured squares or colours of choice.

Step 1: Arrange your squares in a 4 x 4 grid. Starting on the top row place a neutral square and a coloured square right sides together, sew a 1/4'' along one side. Do not cut the thread, we are going to chain stitch the remaining sets of squares. Simply feed your sets through until all 8 are sewn together. Press to the dark side.
Now lay your first set on top of your second set right sides together and stitch. Press as above. Row one is done repeat for row 2, 3, and 4.
Lay row 1 and 2 right sides together, butting or locking seams together this helps keep the seams aligned, and stitch along the long edge. Repeat for row 3 and 4. Press seams to one side.
Lay the 2 completed sections right sides together and again lock seams and stitch along the long side.
Congrats you now have a scrappy 16 patch! It should measure 8 1/2'' by 8 1/2''.

16 patch 8 neutrals and 8 green squares


Step 2: Adding the corner triangles.
Cut (2) 7 1/8'' squares. Cut in half diagonally.
Cut (4) 3 1/2'' squares of a neutral fabric for the background. Draw a diagonal line, from corner to corner, on the wrong side of the 3 1/2'' neutral squares. Lay right sides together on the corners of the 7 1/8'' square sew on the diagonal line. If you draw another line 1/2'' away from previous line and sew on that line, then cut apart between sewn lines you will end up with a bonus HST. Flip and press.

1. Cut square in half diagonally. 2. Draw a diagonal line on wrong side of background square, lay right sides together in the corner of the triangle. Sew on drawn line. 3. Cut a 1/4'' from sewn line. 4. Flip and press.

Sew one triangle to each side of the 16 patch unit creating a square in a square, although this is not a traditional square in a square as the points are not a 1/4'', they are 5/8''. Trim to 12 1/2''.

Sew triangle units to 16 patch center

Step 3: Four at a time flying geese.
Cut (1) 7 1/4'' square.
Cut (4) 3 7/8'' squares of neutral fabric or background fabric. Draw a diagonal line, from corner to corner on the wrong side of the four neutral squares. With right sides together, pin two of the neutral squares on the opposite corners of the 7 1/4'' square. Sew a 1/4'' on both sides of drawn line. Cut apart on the drawn line, press toward the neutral squares. With right sides together lay the remaining 3 7/8'' neutral squares on the corner of the above units. Sew a 1/4'' on both sides of the diagonal line. Cut apart on the drawn line line. Press seam out. Trim to 3 1/2'' x 6 1/2''. You now have four perfect flying geese.

1. Lay two background squares on opposite corners draw a diagonal line from corner to corner. 2. stitch a 1/4'' seam on both sides of the drawn line. 3. Cut apart on drawn line 4. Lay a background square in corner, stitch on both sides of drawn line. 5. Cut apart on drawn line 6. Makes 4 flying geese.

Step 4: HST's
Cut (4) 4 3/8'' squares of your neutral fabric and (4) star point colour fabric.
Draw a diagonal line on the wrong side of the neutral fabric square. Place right sides together with the star point fabric. Sew a 1/4'' on both sides of the drawn line. Cut diagonally on drawn line. Press to side. Trim to 3 1/2''. Make 8.

1. Draw a diagonal line on the wrong side of the background squares, stitch on both sides of the drawn line. 2. Cut apart. 3. Press open to dark side and trim.

Step 5: Cut (4) 3 1/2'' squares of neutral or background fabric.
Using 2 hst's and one flying goose stitch together. See diagram below. Make four.

Stitch together two hst's and one flying goose. Make four. Add a background square to the both ends of two of the above units.
Refer to my picture below for the layout of the center  and the flying geese units. Join using a 1/4'' seam allowance. Press and trim to 18 1/2'' x 18 1/2''.


I made a small cutting error, when I made my block. I used 3 3/4'' background pieces instead of the 3 1/2''. I guess it pays to read my own directions a little bit more carefully. Now when did I notice the error? Of course after I had the block finished. If you look at the picture of the block at the top of this post you can see my little error.
Now I ask should I fix it or leave it?

Here's the complete list of stars.

May 21

May 22

May 23

May 24

May 25